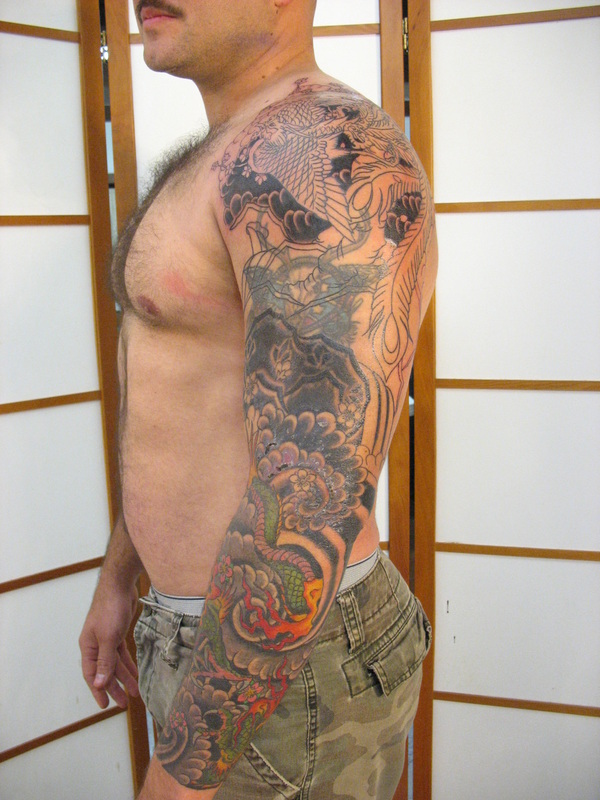
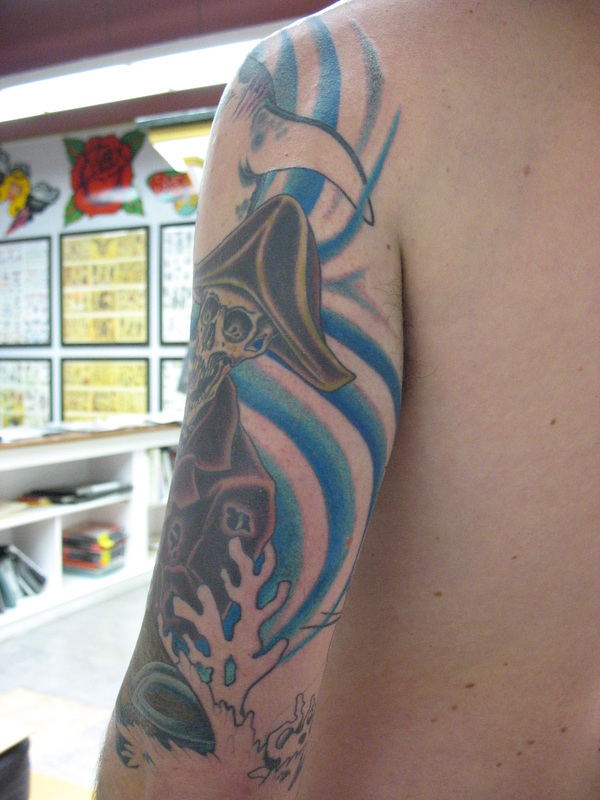
An all around photo of JP's sleeve. I actually forgot to get a photo about 2 weeks ago when I was out tattooing him at the Blue Lake Tattoo Expo. We go into the elbow and into some of the rocks and water. This session we lined the rest of the cherry blossom tree and lined and started shading the clouds up top. Now, before some of you with acute eyes start going "well what is going on with the clouds? there lighter below on darker up top!". Well first I would say "good Eye!" and second I would tell you that I am going for the 'layering" of the tattoo image itself. I.E the dragon and the lower half is the immediate foreground while the clouds start to part and the rocks and waterfall are then exposed along with the phoenix and cherry blossom tree. Anyhow, in a few weeks we will continue onto the inside 'ditch' area and along the water and finish up some of the rocks. Hopefully his elbow is healed by then (in case you were wondering what was going on there as well)
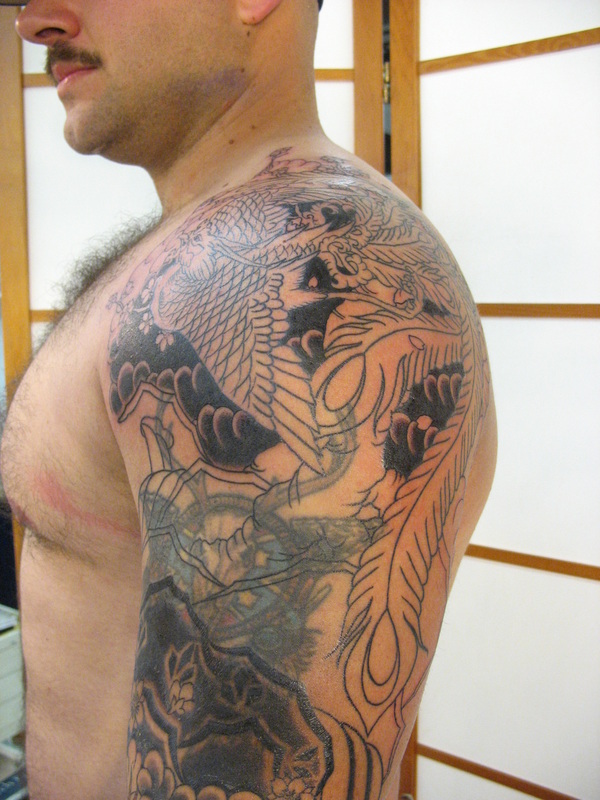
A little photo of what we got into today.
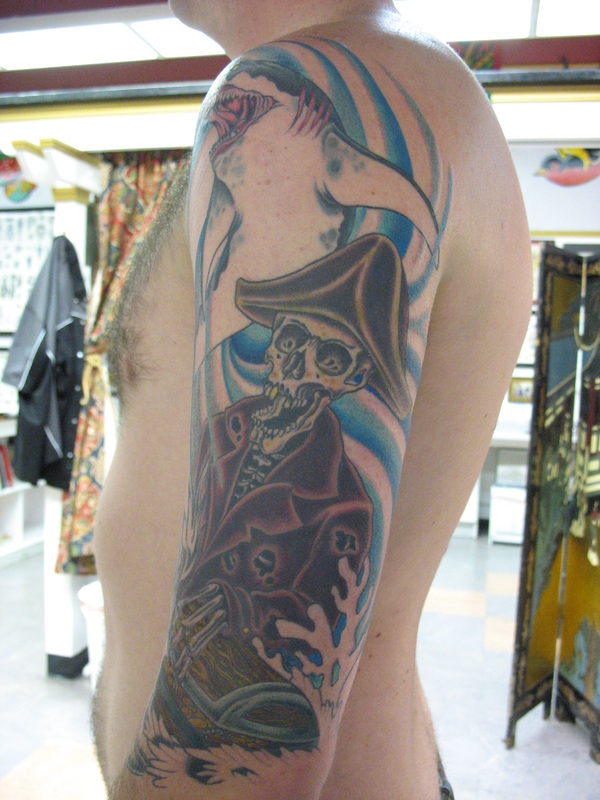
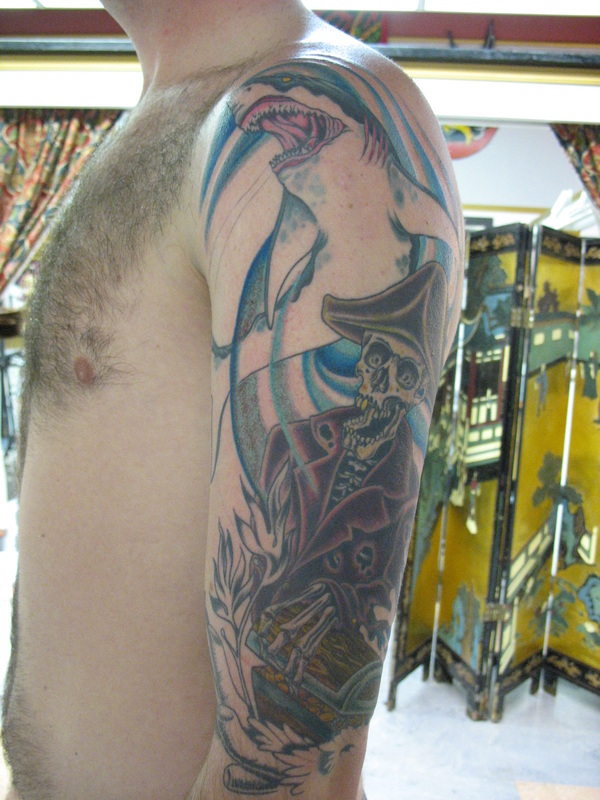
Added some more to my buddy Matt tattoo the other night. I am really enjoying tattooing this tattoo (as I do with all of you that I tattoo!) But this tattoo just seems to go so smooth every session. I don't know if it the music or that I get to tattoo a rad subject(s) or that I'm tattoo a good buddy to some good jams, maybe it is all those factors and every time I tattoo him they just seem to fall into place-okay enough with the weird. I'm having fun with this piece is the point and he is to. On to the next session Matt.
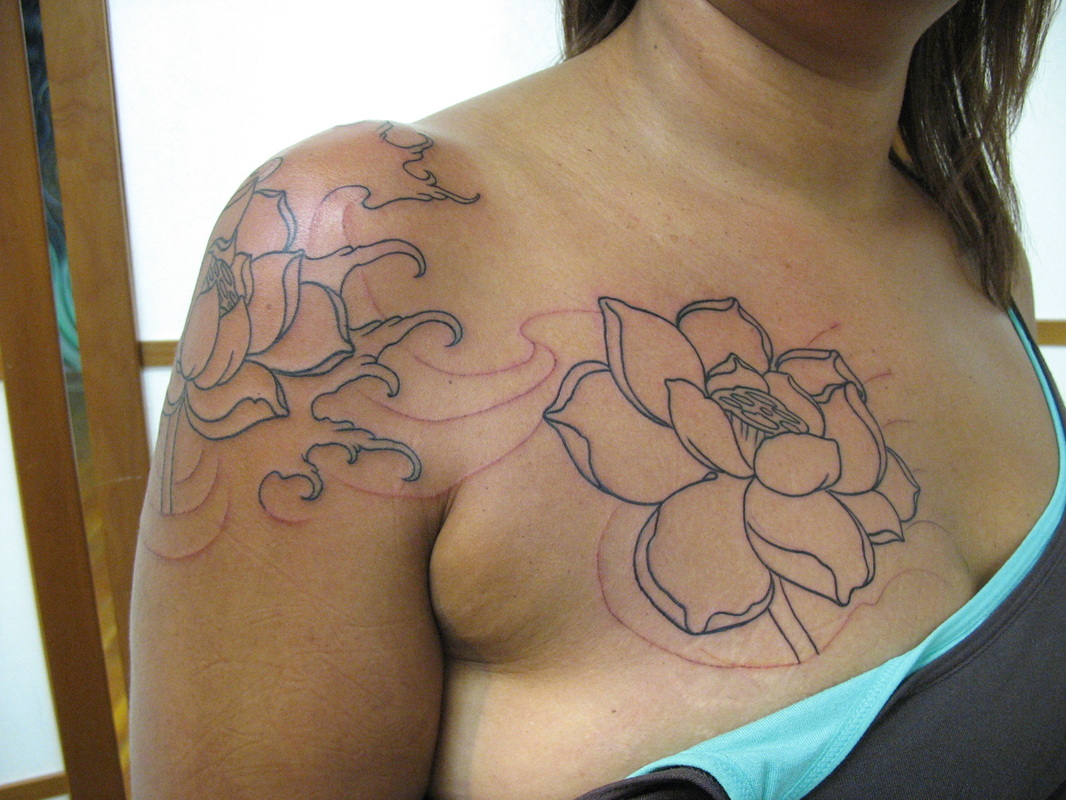
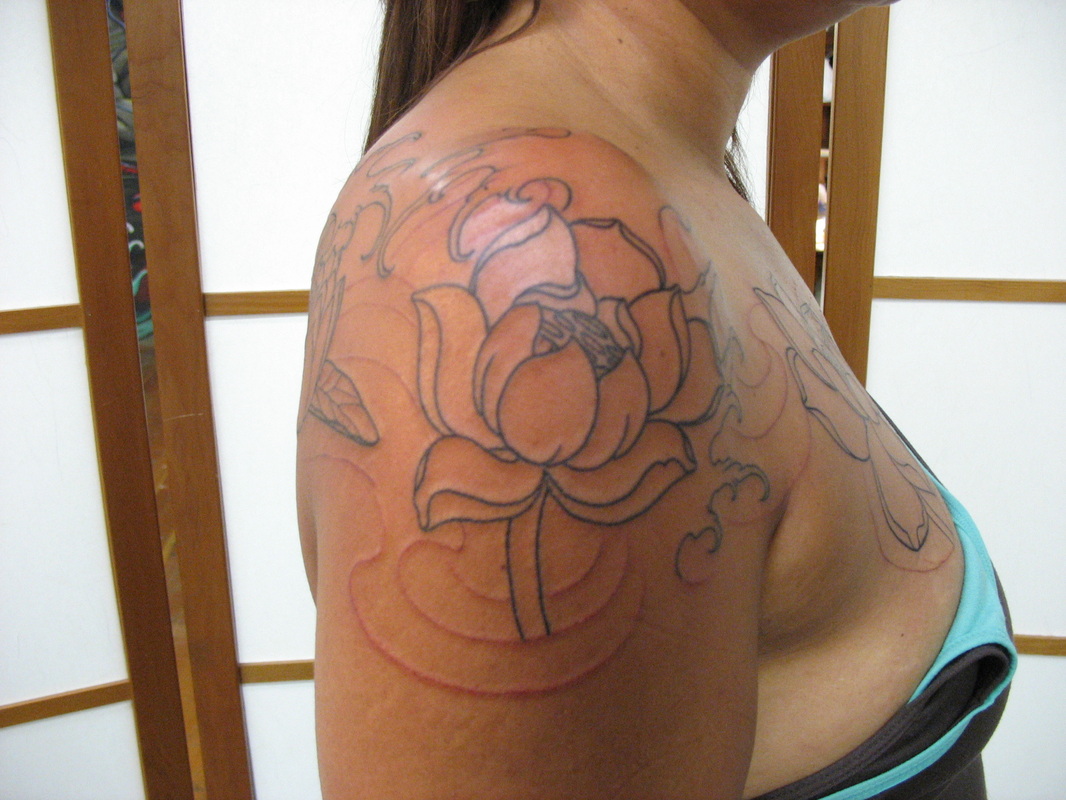
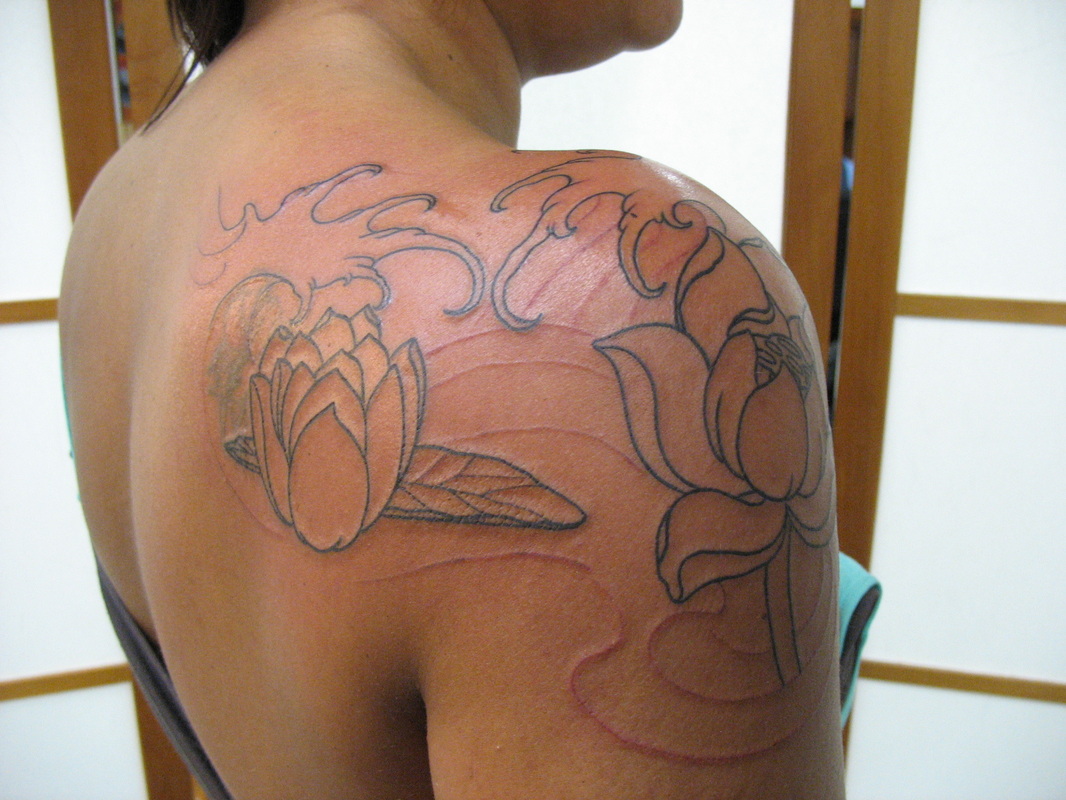
Lined this out I believe last week or so? (the weeks have seemed to move by so fast and are molding all together anymore I have a hard time remembering when I have tattooed certain tattoos) Anyways, this young lady wanted the progression of a water lily on her from her back shoulder to her chest. The progression being from growth on her shoulder to full bloom on her chest. I think it came out rather nice and she wears it well. We'll be shading the water next session and it should go nice and smooth.
This is your new blog post. Click here and start typing, or drag in elements from the top bar.
 RSS Feed